


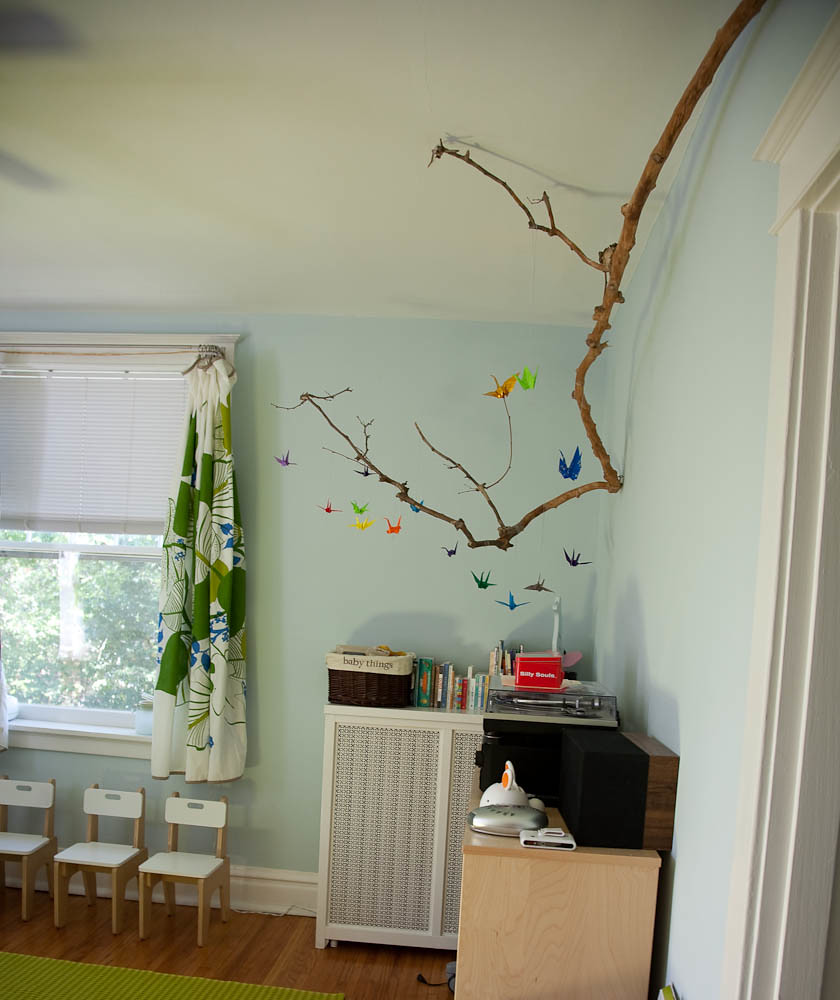
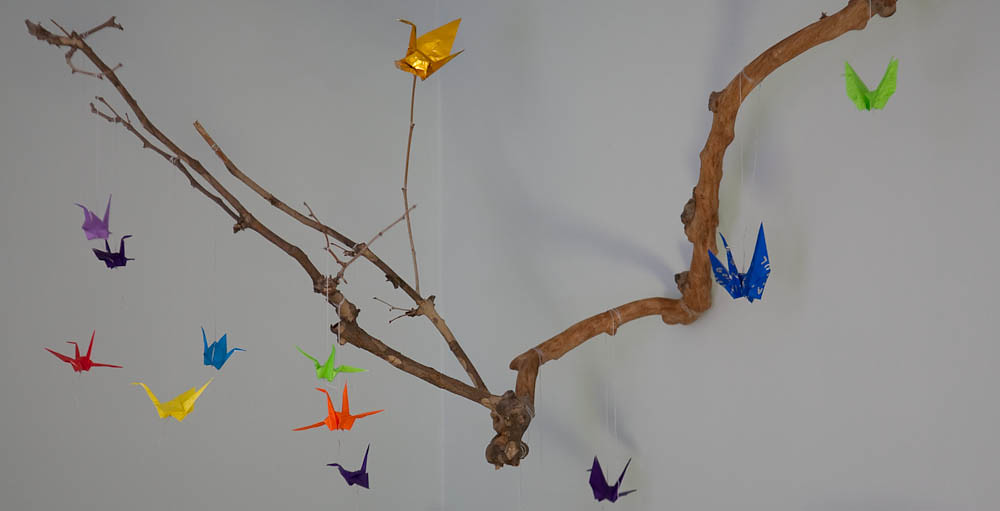
1) Obtain a branch. Be it after a storm or chasing after an arborist, find a branch that suits your needs.
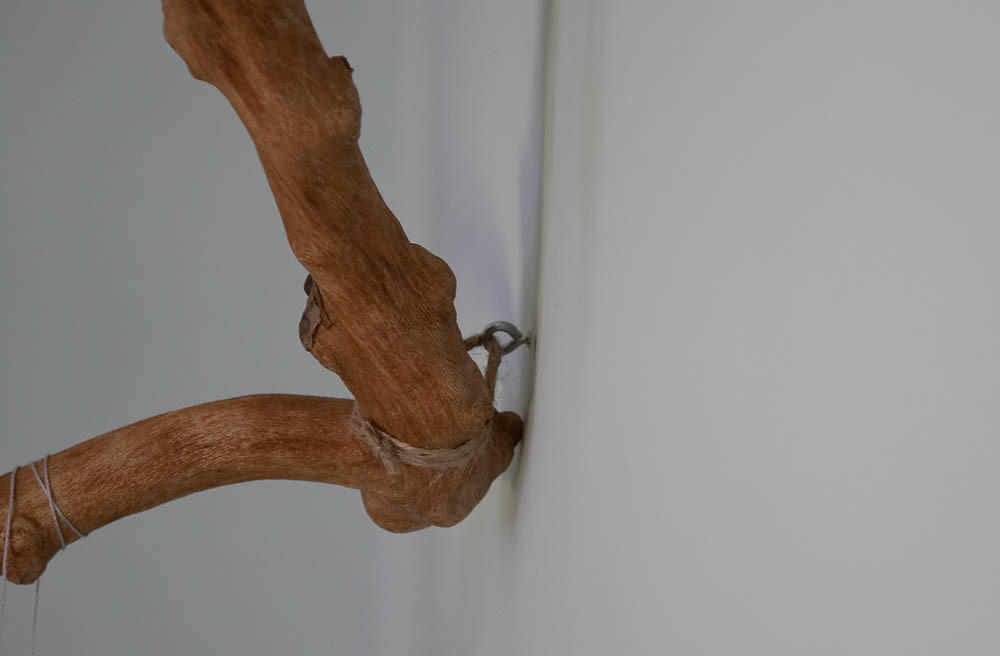
2) Secure it to the wall or ceiling. This is where Daniel's genius kicked in: he secured a few eyescrews into the wall where the branch met the wall and then temporarily connected with cable ties. This step is also where I was not allowed to take pictures because clearly my picture taking was directly correlated to the plaster walls deciding to become difficult. Later the cable ties were reinforced or replaced by twine. The result is a branch that 'got no strings to hold it down'...Pinocchio, anyone?
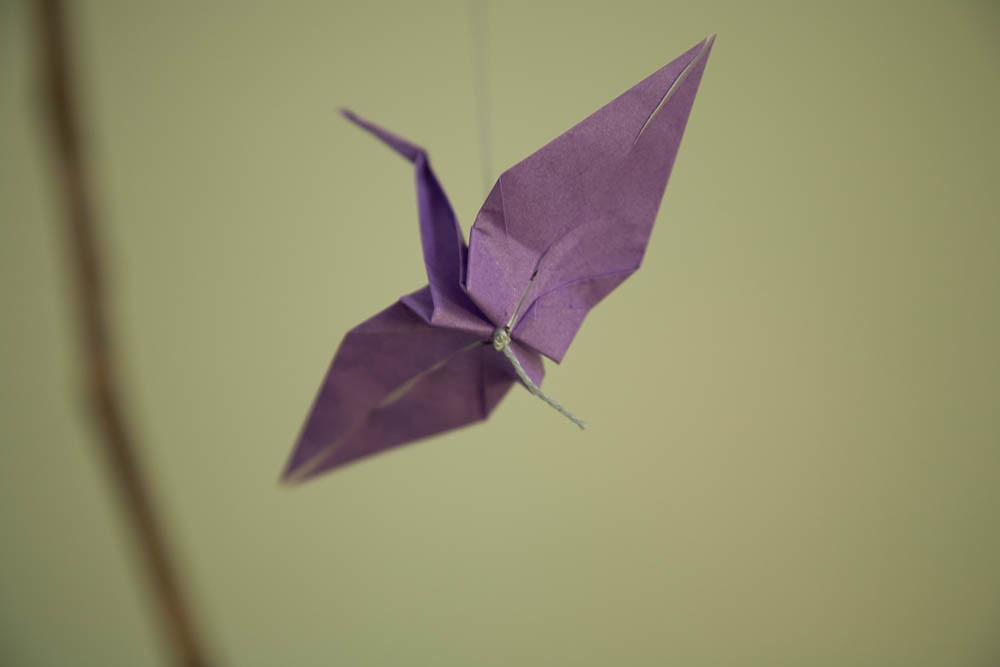
3) Select something to hang from the branches. We chose rainbow origami that had messages from family members to the baby and were folded into paper cranes. The easiest way was to have family members pick the paper from our selection, write on the back and return an unfolded piece of paper. I then folded the cranes (after reading the messages, of course). This is probably the hardest part of the project as you have to hunt down family members to get them to return the paper.
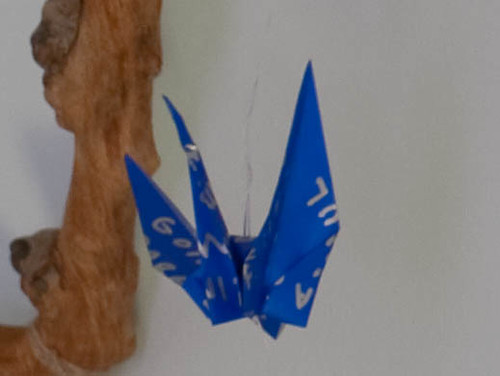
4) Attach the items to the branches. Using embroidery thread and needle, the string was threaded through the body of the crane. And done!


No comments:
Post a Comment