


Having many presents bought and sitting around, I needed to figure out what wrapping paper to buy or make so when our tree went up an assortment of tastefully wrapped and arranged presents could magically appear. (This is what bloggers' dreams are made of.) Between Martha Stewart and Pinterest, the options for pulling together a gorgeous theme started getting out of hand. Newspaper with duct tape ribbons? Multicolored yarn? Washi tape? Brown paper packages tied up with string? Yes, yes, yes, yes!

credits: the sweetest occasion . sweet paul . ManMade . Pinterest all on my Pinterest
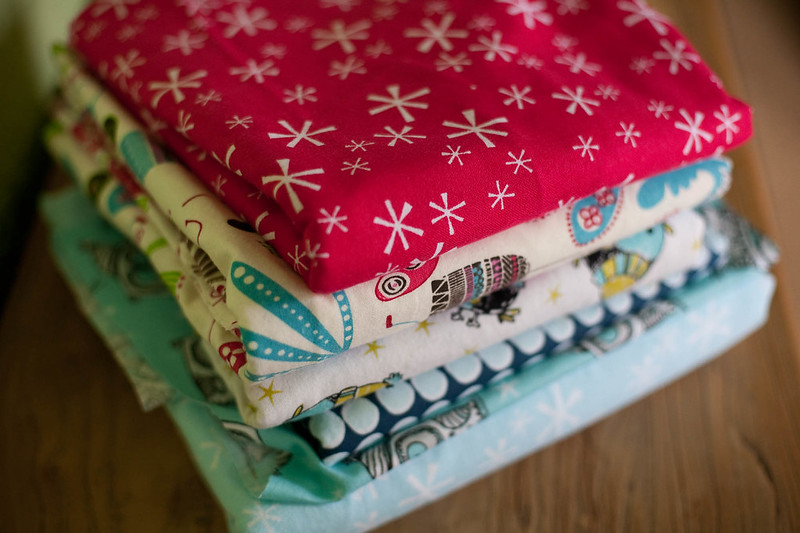
A trip to Joann Fabric (I had coupons...and that seems to be the other thing bloggers' dreams are made of) and I settled on quirky-printed flannel fabrics. Though the scarves are usually light cotton or silk I thought flannel would have the added bonus of not allowing any peeking.
Here's how I did it - short and sweet:
1. Put on a reality show or soap opera or whatever trips your trigger for background noise.
2. Cut big squares from your fabric - you may want to roughly wrap your presents to measure out how big your squares should be. Be sure to unwrap before moving on.
3. Iron out your material and cut off any selvage sides.
4. Using fusible tape, hem the edges of your square. I used Steam-A-Seam, which I highly recommend as it holds the edges together with a loose adhesive and ironing makes the bond permanent. At this point, you could sew up the sides..yes, you could. I didn't.
5. Using the guide below, get to wrapping all those presents!

Ta-Da! I am pleased with the outcome, especially knowing it can be reused and cuts back on paper waste.

Of course any presents for children I'm going back to plain old-fashioned wrapping paper because I understand ripping into a present is initially half the fun...and I am not that crazy to think they'd be patient unfolding some fabric.


No comments:
Post a Comment