


 When it comes to birthdays, Indio knows two things: presents and cake. That's my cue to produce some magical cake that is molded to perfection and has 20 pounds of fondant covering it, right? Considering my last few baking attempts have literally fallen flat - how do you mess up box cake mix?!?! - I'm sitting this one out. This year I've decided bakeries are in business for a reason and my cakes are going to be purchased*. But blogger guilt won't let me call it a day with store bought goods, so I am making Lego toppers to add a special something-something to the cakes.
Not wanting to try candy melts and molds for the first time the night before the party, I've been testing my methods over the last few weeks. Here is what I think are the secrets to success when it comes to molding melted chocolate or candy melts. Did I mention they can be made in advance?
Materials.In my project, I used silicone molds in Lego block and Lego minifigure shapes and Wilton candy melts in different colors. Everything else you'll find in your kitchen.
Step 1. Melt the chocolate or candy melts. This varies and I'm not going to even try and cover all the options. Just be sure not to overdo the whole melting thing or it seizes (you'll know seizing when you see it - it goes from almost melted back to a hardened state.) Just forget about that batch and start over.
Music suggestion: Melt With You . Modern English
Step 2. Spoon your chocolate/melts into your molds. No worries about too much or too little just yet, that comes after the next few steps.
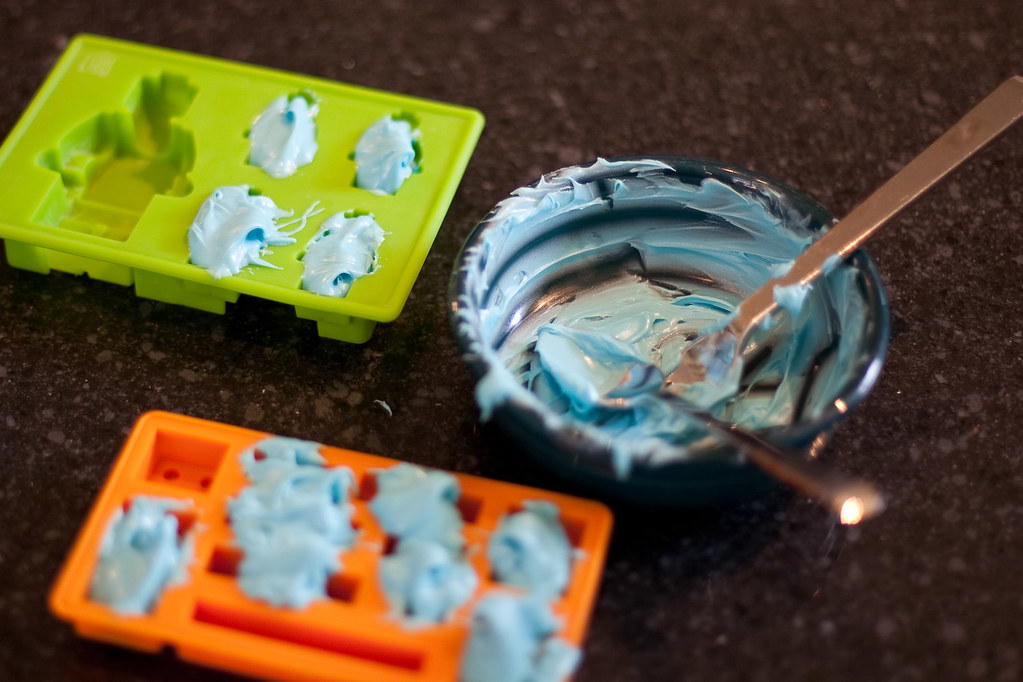
Step 3. Start tapping your molds on the counter - I've found a few harder taps followed by a quick vibration works well. The chocolate/melts will start filling into the molds and air bubbles will float to the top (break them with a toothpick, fork or your finger). This step is important for getting a nice mold - getting the air bubbles out will give you a nice, smooth surface that fills the mold in completely.
Music suggestion: Cosmic Thing . B-52's
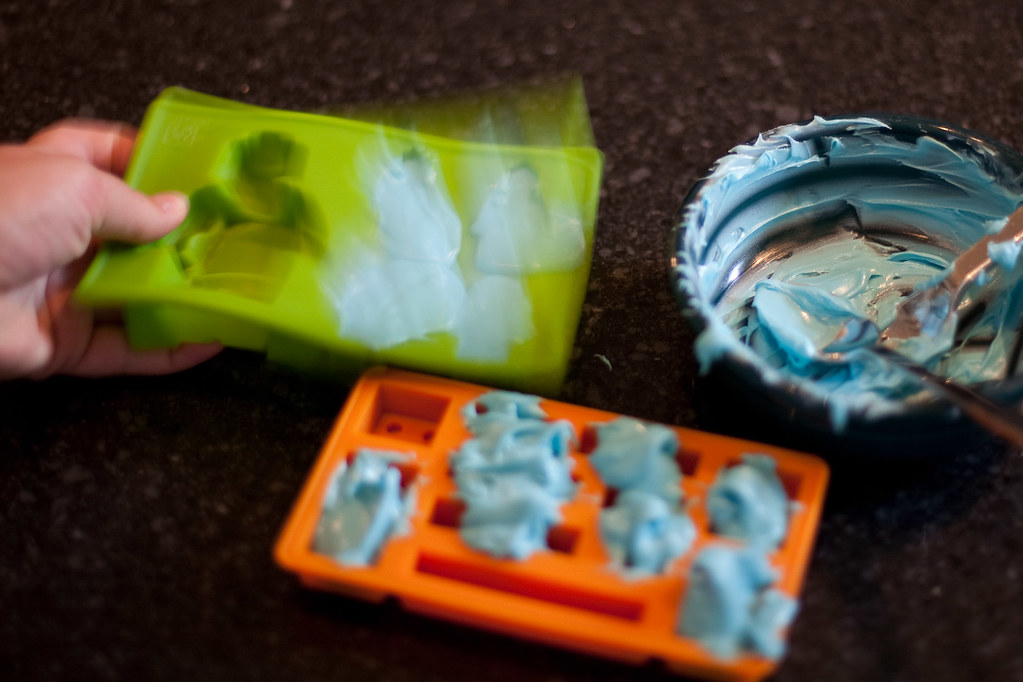
Step 4. Add more melted chocolates/melts as the level in the molds sinks. If the mold is overflowing, take a knife and level off the top.
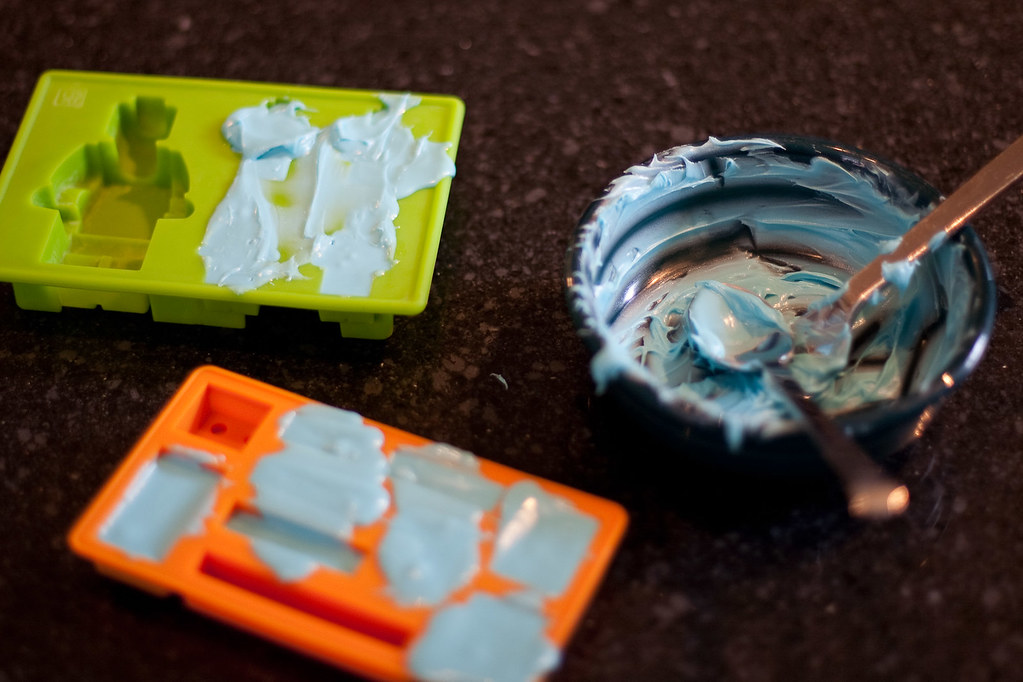
Step 5. Repeat steps 3 and 4 until the level stays the same and most of the air bubbles appear to be out. Tip: fill your molds to a level just below the top of the mold - the finished product will comes out cleaner without having edges later.
 Step 6. Put the filled molds in the fridge and let set. For me 30 minutes is the magic number.
Step 7. Remove the set chocolate/melts from your mold. If you are feeling particularly particular (like me), don't touch the chocolate/melts for fear of fingerprints ruining your masterpiece. Seriously, I use tongs to move the chocolates/melts from here on out.
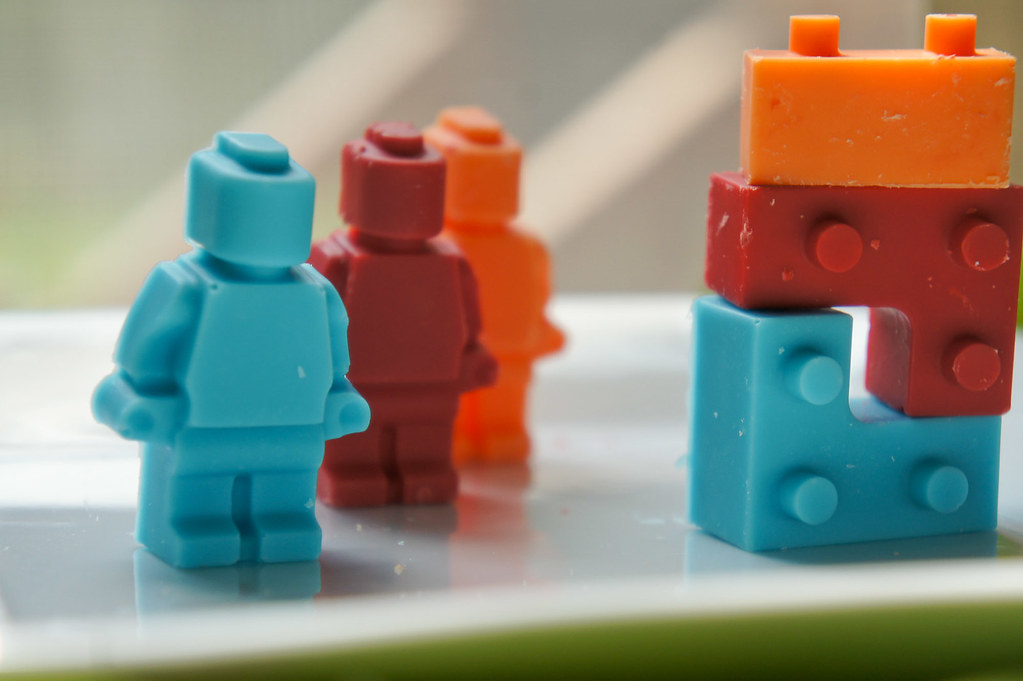
Step 8. Put the finished product in a sealed container and save until needed. Tips: Do not put chocolate/melts in the fridge as opening and closing the fridge will cause them to bloom (have spots of white on the surface); the chocolate/melts can be made weeks in advance and stored; place parchment paper or wax paper if storing in a container with multiple levels.
*Wow, re-reading that sentence makes me feel like my grandma Bubba.


No comments:
Post a Comment